You walk into a thrift store and spot a funky dresser for $35. Your brain goes, “DIY gold!” But then the drawer sags, the leg wobbles, and you realize you almost adopted a fixer-upper that needs… a contractor. Let’s skip heartbreak. I’ll show you how to spot great “bones” so your upcycle actually becomes a win, not a weekend of regret.
We’re talking structure, materials, and small tells that separate a flip-worthy piece from a future curbside donation. You’ll walk out knowing exactly what to grab—and what to leave for someone else’s DIY montage.
Start with the Shake Test
Give the piece a gentle wiggle. Don’t be shy. You want to feel how it holds together.
- Minimal wobble = good bones. It means tight joinery and a solid frame.
- Epic sway = proceed with caution. Loose screws? Maybe. Split joints? Bigger issue.
- Listen for creaks. Creaks can mean dry glue, cracked joints, or wood under stress.
How to Wiggle Without Being Weird
Grip the top and push diagonally. Then pull a drawer out and push the sides. If the front face separates from the frame or you see joints gape, you’ll spend more time fixing than flipping. IMO, skip it unless the design is incredible.
Know Your Materials: Solid Wood vs. Veneer vs. Particleboard
You don’t need a lumber degree. Just a few quick checks.
- Solid wood: Look at the back, underside, and inside. Irregular grain and end grain on edges? That’s real wood. It sands and stains like a dream.
- Veneer over plywood: Thin wood layer on a plywood base. Great option if the veneer isn’t peeling. It’s stable and takes paint well.
- Veneer over particleboard/MDF: Heavier, dull edges, and uniform “sawdust” core if chipped. Fine for paint, risky for stains or heavy use.
Edge Check Trick
Examine chipped corners or the underside lip. If you see layers (plywood) under a thin pretty layer (veneer), you can still work with it. If you see crumbly composite, go easy. Moisture warps it fast. FYI: avoid water-based stripping on particleboard like your life depends on it.
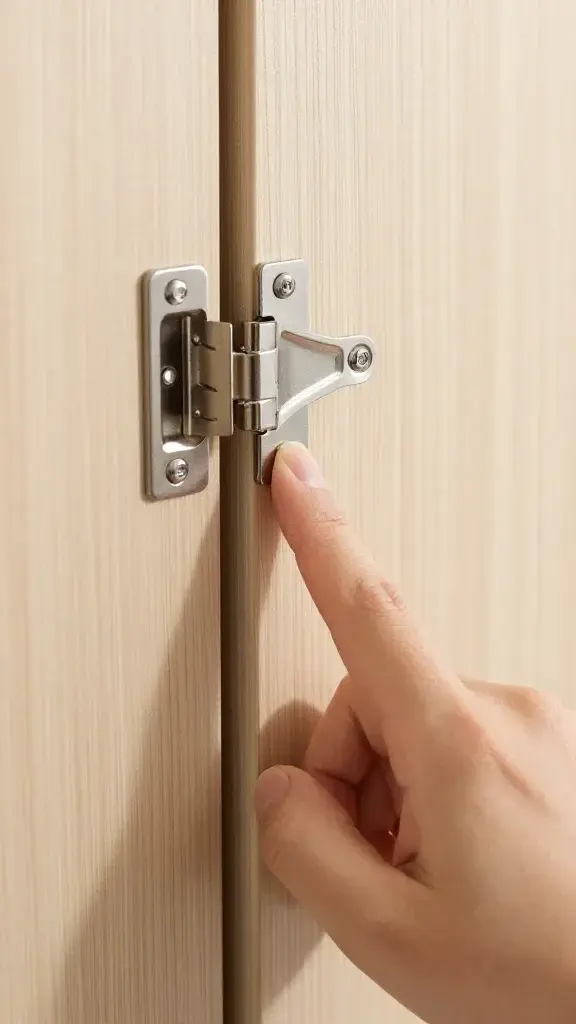
Inspect the Joints Like a Detective
Joints tell you everything about quality. Cheap pieces rely on staples. Good ones use real joinery.
- Dovetails: Interlocking teeth on drawer corners. Hand-cut dovetails vary slightly; machine-cut look uniform. Either way, big win.
- Mortise and tenon: Leg and rail connections that look integrated, not just braced with metal. Super sturdy.
- Screws and brackets: Not evil, just… basic. If the whole piece depends on L-brackets, pass.
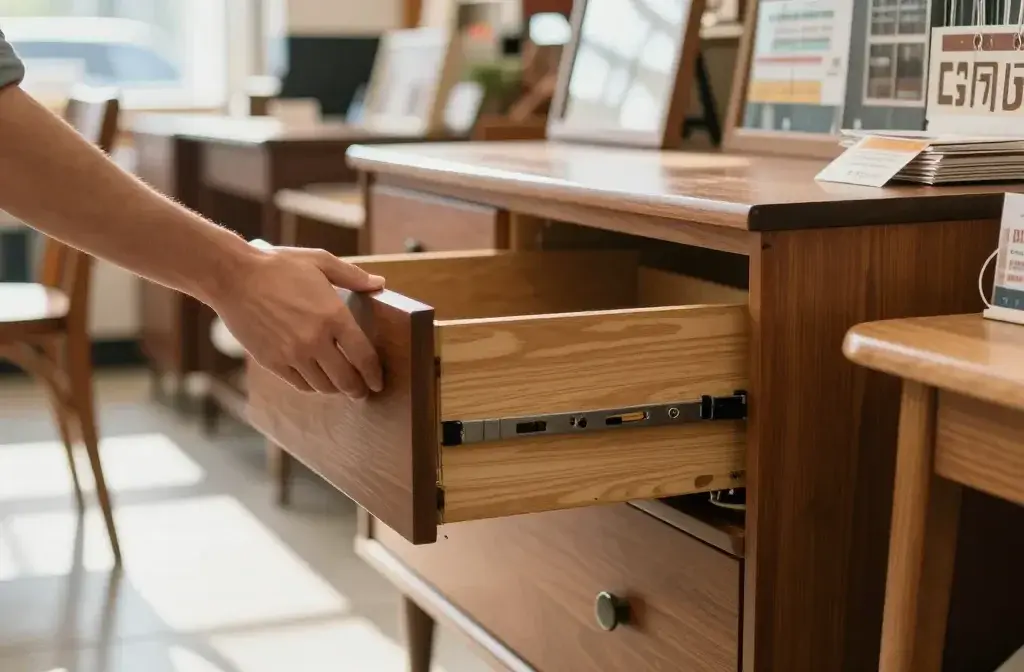
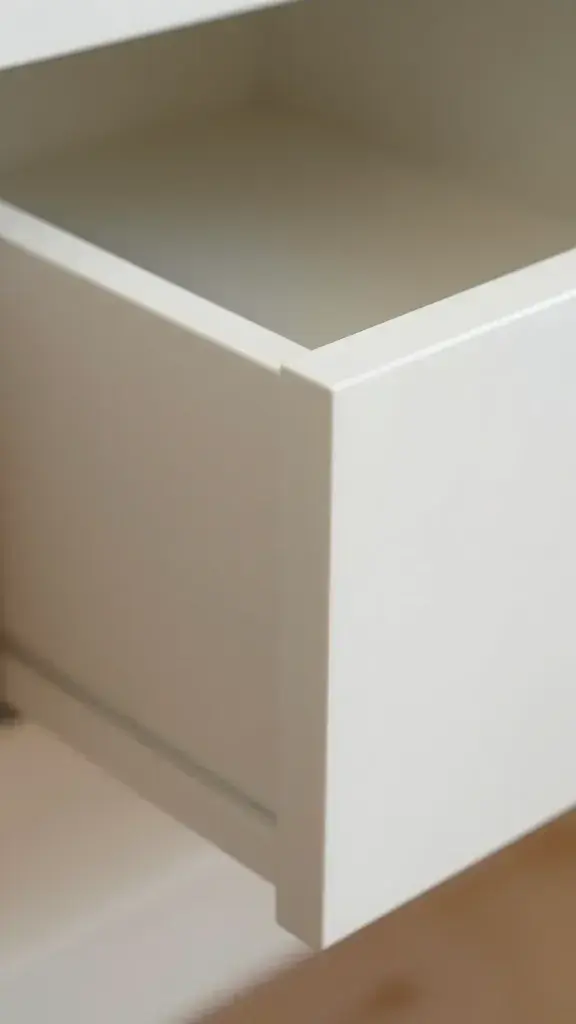
Drawer Test
Pull each drawer out completely.
- Does it slide smoothly without tracks? That means well-fit wood runners—old-school quality.
- Is the bottom panel thin and wimpy? It might sag under weight. Replacing bottoms adds cost.
- Are the sides wood, not plastic or cardboard? Wood sides = repairable and refinishable.
Check for Warping, Rot, and Pests
You can fix a lot. Warped wood and bug damage? Hard pass.
- Warping: Sight down the top, legs, and drawer faces. If it bows or twists, it’ll fight you forever.
- Rot: Press a fingernail into suspicious soft spots, especially near the bottom. If it gives easily, rot’s in play.
- Pests: Tiny holes clustered together or fresh sawdust? Step away. You don’t need roommates.
Smell Test (Yes, Really)
Open drawers and take a whiff. Musty can be fixed with sun, baking soda, or shellac sealer. Mildew or heavy smoke can take ages to neutralize. If it reeks like a basement tragedy, price it accordingly—or skip.
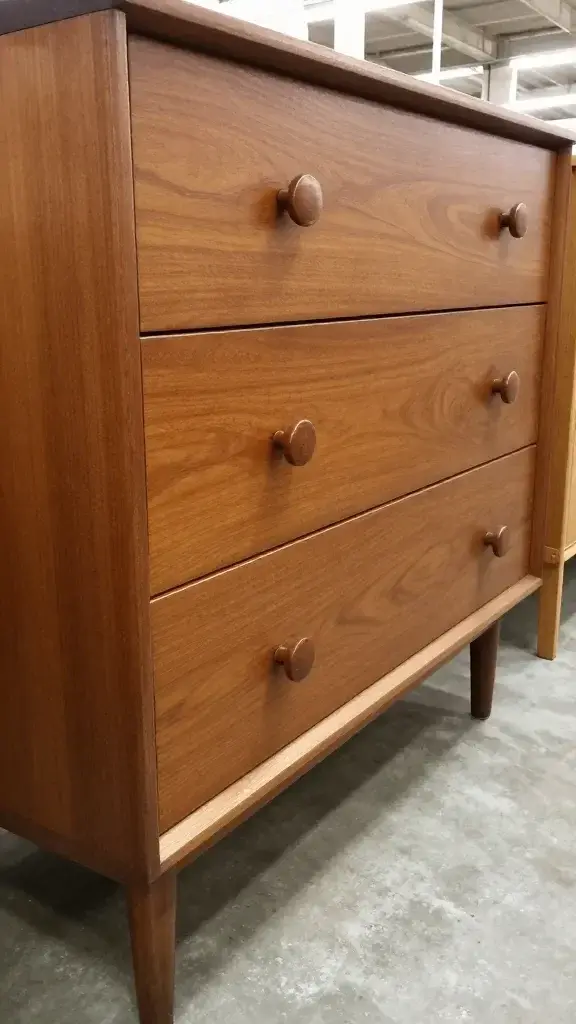
Hardware, Legs, and Frames: The Style Backbone
The shape matters because you can’t paint your way out of bad proportions.
- Leg style: Tapered, turned, or cabriole legs add instant character. Chunky block legs can look clunky unless you lean heavy modern.
- Frame lines: Clean silhouettes, balanced drawer sizes, and a solid top go further than ornate carvings you’ll hate sanding.
- Original hardware: Brass or quality pulls can be cleaned and reused. Missing or cheap hardware? Budget for replacements.
Look for Refinish-Friendly Details
Raised panels, moulding you can tape off, and flat drawer faces make painting or staining faster. Super-intricate trim eats time and sanity. Ask me how I know.
Assess the Workload: Price vs. Project
You found something solid. Now do quick math so the “deal” doesn’t cost more than new furniture.
- Repairs: Loose joints? Easy with wood glue and clamps. Broken legs or split tops? That’s intermediate.
- Prep: Veneer chips = patch and blend. Deep scratches in solid wood = sandable. Laminate? Paint-only territory.
- Finish plan: Paint needs cleaning, scuff-sand, primer, topcoat. Stain needs stripping, sanding through grits, and even color application.
If the piece needs new runners, a full strip, veneer patches, and replacement hardware, it better cost pocket change. IMO, pay more for sturdy pieces that need light cosmetic love.
Quick Tools to Bring Thrifting
You don’t need a workshop in your tote—just the essentials.
- Measuring tape: Will it fit your car and your hallway? Ask me how I scratched mine.
- Flashlight: Check inside cabinets and under drawers for damage.
- Mini screwdriver: Tighten a knob to test threads. Peek under panels.
- Magnet: Real brass hardware won’t attract strongly. Plated stuff will. Not a dealbreaker, just nice to know.
- Furniture slider or blanket: Save your back, future you will thank you.
What’s Worth Saving—and What’s Not
Save your energy for pieces with:
- Solid frames and smooth drawers
- Fixable surface damage like scratches, water rings, and tired finishes
- Classic shapes that suit your style with new color or stain
Walk away from:
- Severe warping or split structural parts (especially tops and legs)
- Active pests or rotten wood
- Cheap construction held together by staples and hope
Red Flags That Pretend to Be Fine
– Drawers that “mostly” slide: they’ll annoy you daily.
– Veneer bubbles bigger than a quarter: tedious to fix smoothly.
– Painted-over hardware: someone cut corners; what else did they skip?
FAQ
How do I fix wobbly legs on a great piece?
Clean out the old glue from the joint with a small brush or pick. Apply wood glue, clamp firmly, and wipe squeeze-out. If the hole’s loose, use wood shims or a toothpick-and-glue trick to tighten the fit. Let it cure the full time on the label—no rushed reveals.
Can I sand veneer without burning through it?
Yes, gently. Hand-sand with 220 grit and keep it light. You’re scuffing the finish, not removing material. If you need to refinish, start with a chemical stripper instead of an aggressive sander, then sand very lightly. FYI: vintage veneers can be paper-thin.
What paint works best for thrifted furniture?
Use a bonding primer first—shellac or high-adhesion types—then a durable enamel or furniture paint. Satin or semi-gloss cleans easily. Skip chalk paint unless you love waxing or topcoating; it scuffs fast in high-traffic areas.
How do I deal with musty drawers?
Pull drawers out, vacuum, and set them in the sun for a few hours. Place bowls of baking soda or coffee grounds inside for a few days. If it lingers, seal the interior with a thin coat of clear shellac. It locks in odors like magic.
Is it worth replacing hardware, or should I restore it?
If the hardware’s solid brass or unique, clean it with Bar Keepers Friend or a gentle polish and keep it. If it’s flimsy, swapped, or missing, replace it with something that matches the piece’s era or your vibe. Hardware upgrades can make a $30 dresser look like a $300 one, IMO.
How do I test if a top can handle stain instead of paint?
Sand a hidden corner lightly and wipe with mineral spirits. If the wood grain looks even and pretty, you can likely stain. If you see patches, veneer damage, or color variation that won’t blend, paint might be your best friend.
Conclusion
You don’t need luck to score flip-worthy furniture—you need a checklist and a tiny bit of nerve. Shake it, check the joints, know the materials, and be honest about the workload. Buy pieces with solid bones and fixable flaws, and you’ll actually finish your projects instead of building a garage museum of “somedays.” Go hunt, trust your gut, and when in doubt? Put it in your cart and do one more pass. Someone else might snag your future showpiece.