How to Use Rugs to Define Areas in Open Floor Plans Like a Design Pro
Open floor plans are amazing—until your living room melts into your dining room and suddenly your coffee table feels like it’s auditioning for the breakfast nook. The fix? Rugs. They’re the easiest way to carve out zones without building walls or starting a renovation saga.
Let’s map out your space so it feels intentional, stylish, and yes—still open. Here’s how.
1. Start With The Big Zones (Then Zoom In)
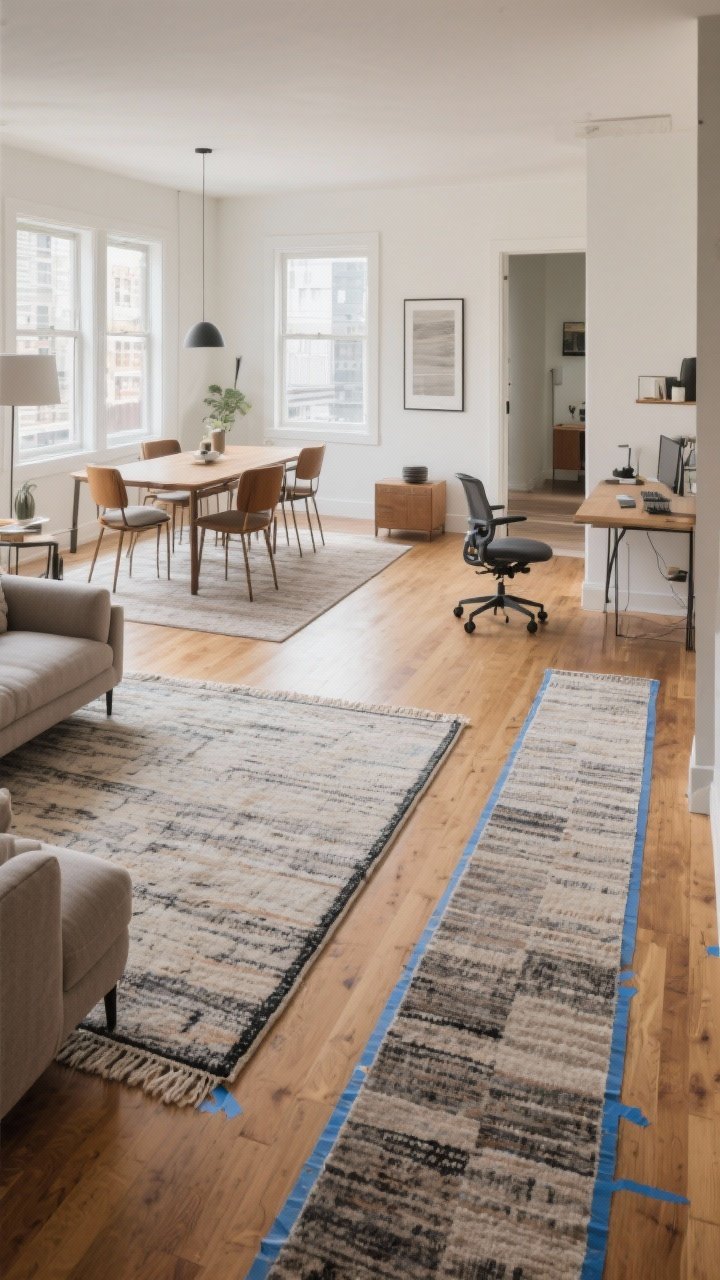
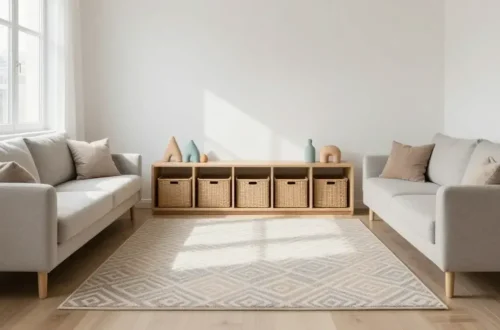
Think of your open plan like a city map. You’ve got districts: living, dining, kitchen, maybe a workspace. Rugs are your borders. Pick a rug for each major zone so the eye knows where one area ends and the next begins.
How To Size It Right
- Living area: Choose a rug big enough for at least the front legs of all seating to sit on it. Ideally, all legs.
- Dining area: The rug should extend 24–30 inches beyond the table edge on all sides so chairs don’t catch when pulled out.
- Workspace: Fit the desk and chair fully on the rug so you’re not rolling off the edge mid-Zoom.
- Entry zone: A runner or 3×5 to announce “We’ve entered,” without blocking traffic.
Pro move: Blue tape your rug dimensions on the floor first. It’s the zero-dollar way to visualize flow before committing.
2. Match Scale To Furniture (Avoid Tiny-Island Syndrome)
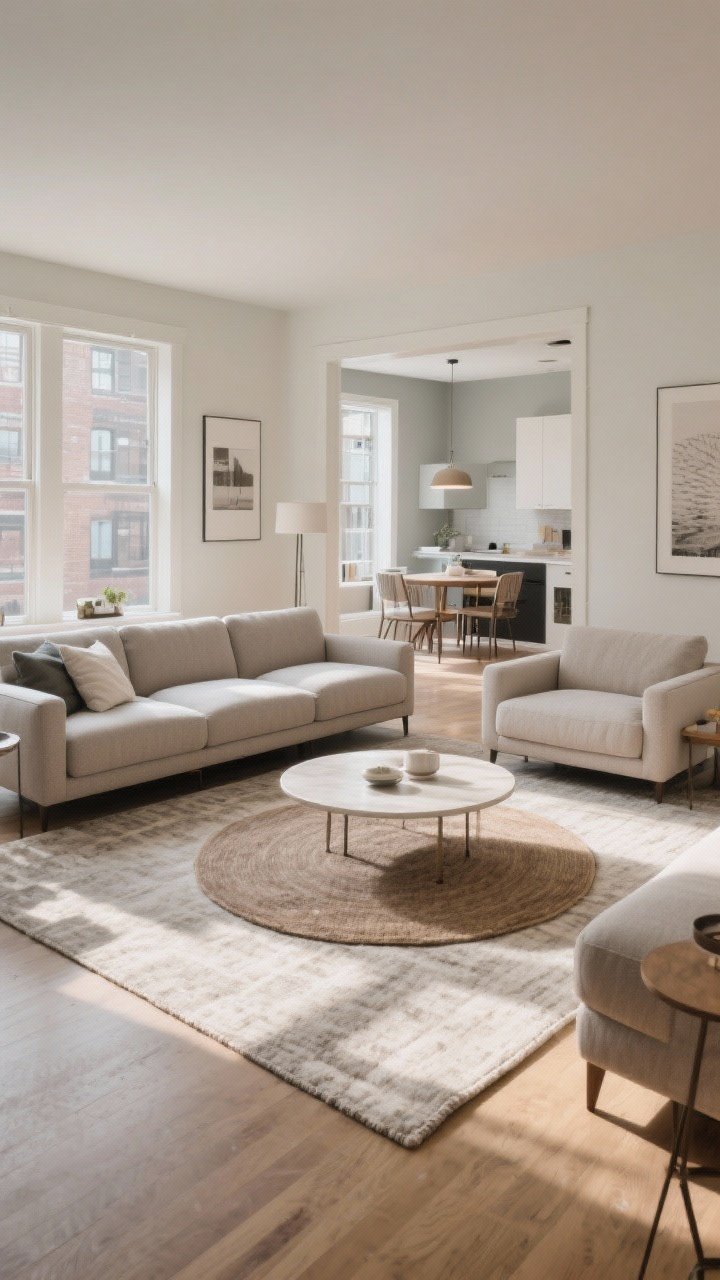
Nothing shrinks a space like a too-small rug—your sofa looks like a giant stranded on a bathmat. Choose rugs that match the scale of your furniture and room proportions.
Quick Size Cheats
- Sectional sofas: 9×12 or larger. Go big to anchor that L-shape.
- Apartment sofas: 8×10 is your best friend. 5×7 is usually too small, FYI.
- Round tables: Use a round rug—echo the shape so it feels cohesive.
- Narrow dining tables: Try a rug slightly wider than the table but long enough for all chairs to live comfortably.
Reminder: Leave 12–18 inches of bare floor around the room’s perimeter so the space breathes.
3. Coordinate, Don’t Copy (Your Rugs Should Talk, Not Yell)

In open layouts, your rugs have to play nice together. They don’t need to match, but they should share a color story or style language so the space feels cohesive, not chaotic.
Easy Coordination Formulas
- Shared palette: Choose one dominant color across all rugs, then vary the patterns or textures.
- Pattern vs. solid: Pair a bold patterned rug in the living area with a quiet solid or subtle stripe under the dining table.
- Material harmony: Mix textures (jute, wool, vintage) but keep the tones consistent—warm with warm, cool with cool.
- Scale balance: If one rug has a large-scale pattern, make the next one small-scale or tone-on-tone.
IMO: Aim for cousins, not twins. Related, but each with personality.
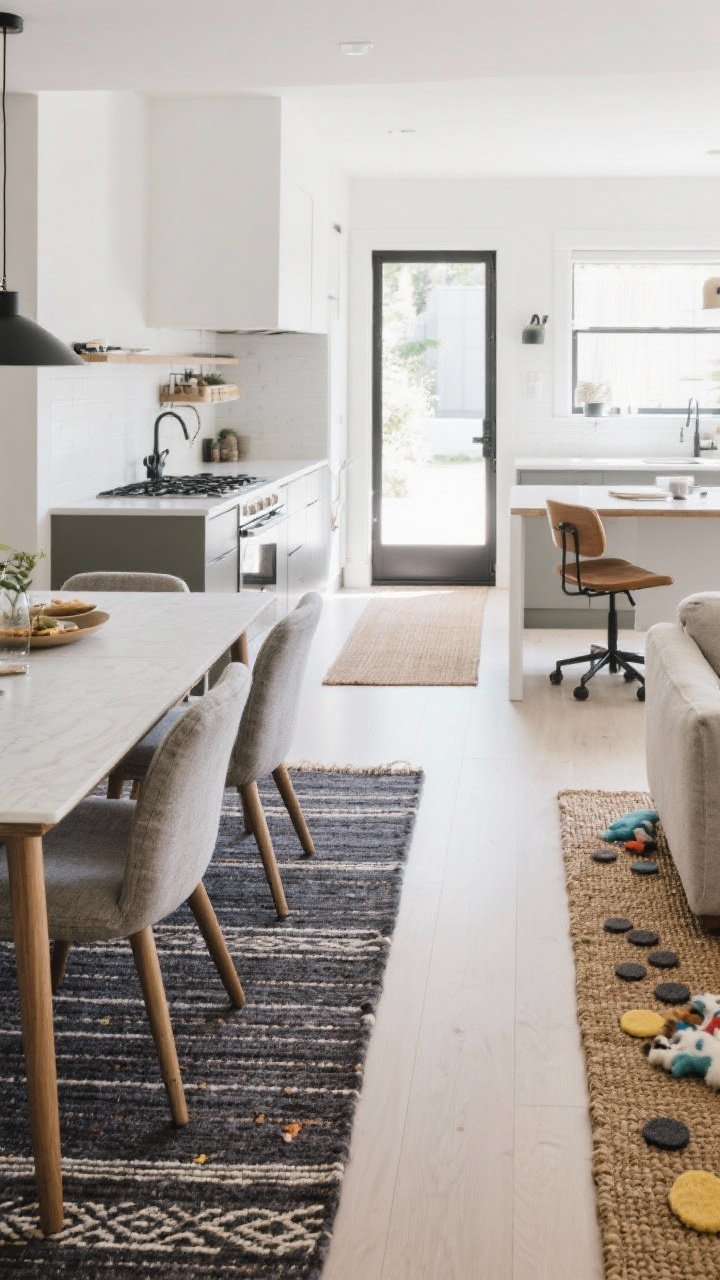
4. Use Shape To Steer Flow (Curves, Runners, And Zones)

Rugs can nudge people where to walk and where to lounge. That’s huge in an open plan where traffic can go rogue.
Shape & Placement Tips
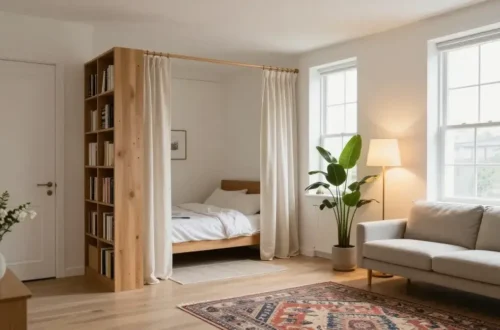
- Round rugs: Soften boxy layouts and spotlight conversation nooks or reading corners.
- Runners: Create visual “hallways” between zones—great from entry to living or kitchen to dining.
- Offset placement: Slide a rug a few inches to open up a natural pathway. Your shins will thank you.
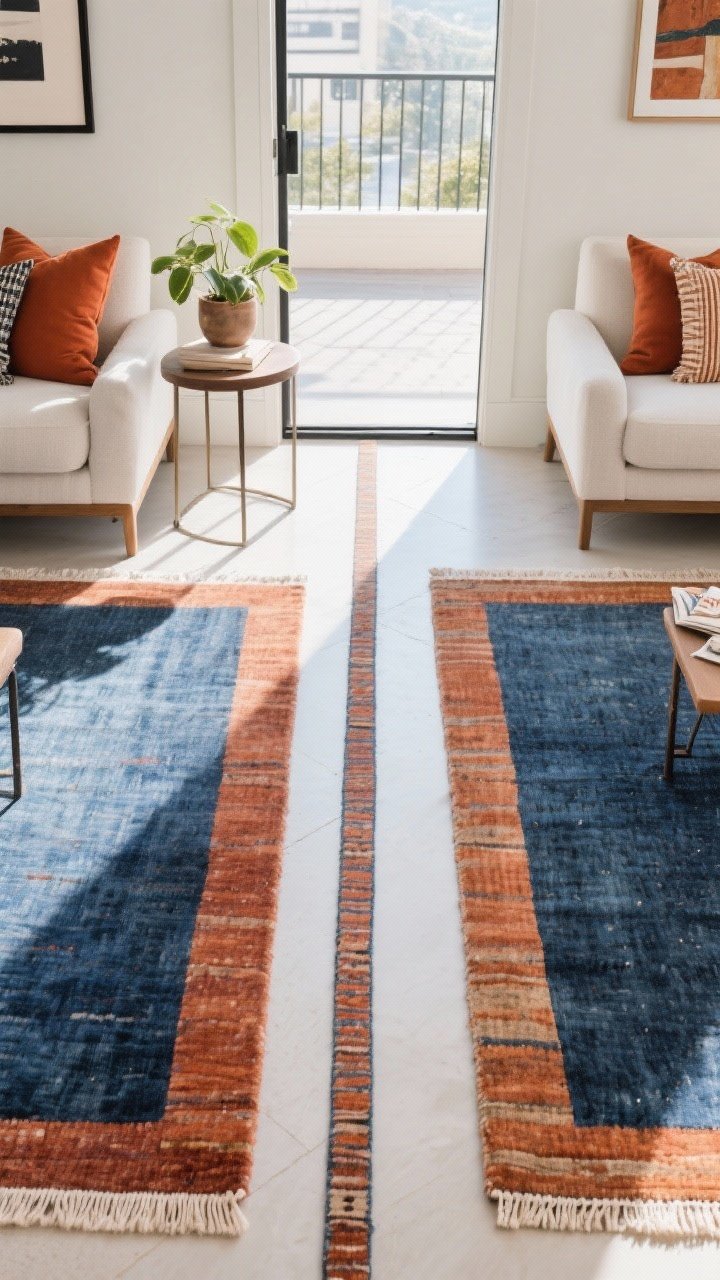
- Layered edges: Let rugs almost touch where zones meet, leaving a slim strip of floor as a subtle divider.
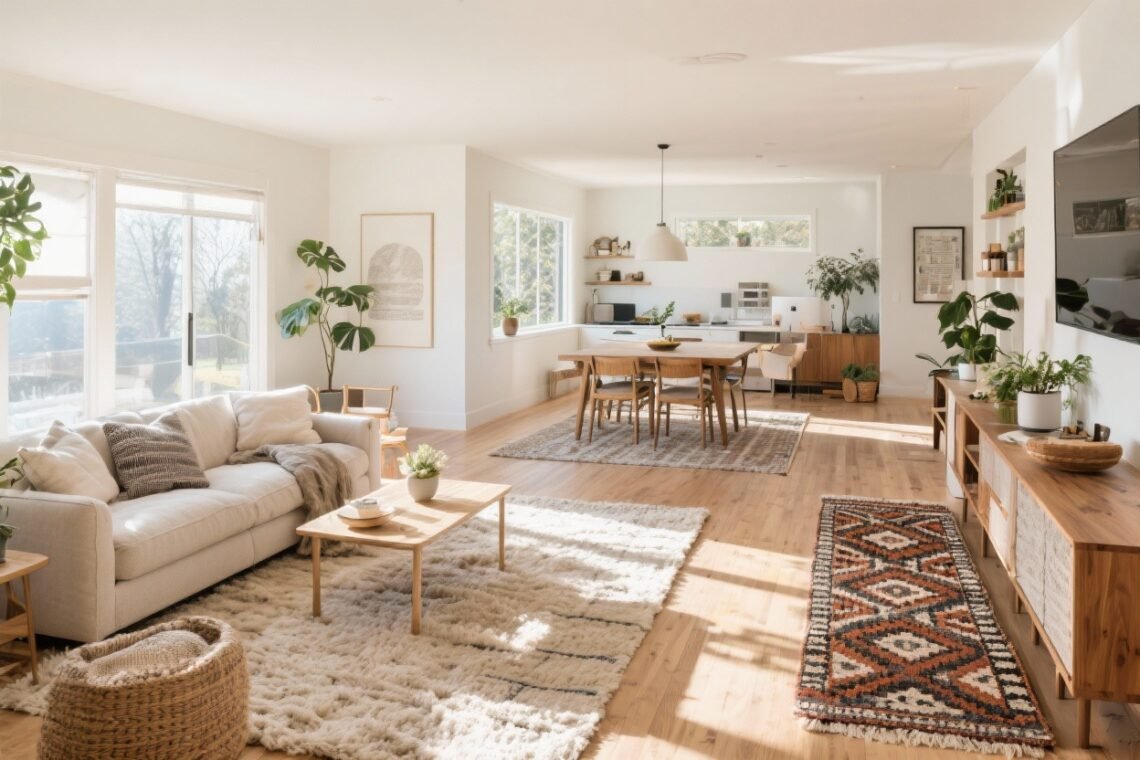
Pro tip: In long rooms, use rugs to create a rhythm—living zone, walkway, dining zone—so the space feels intentional, not like a bowling alley.
5. Layer For Texture And Comfort (Without Tripping Over It)
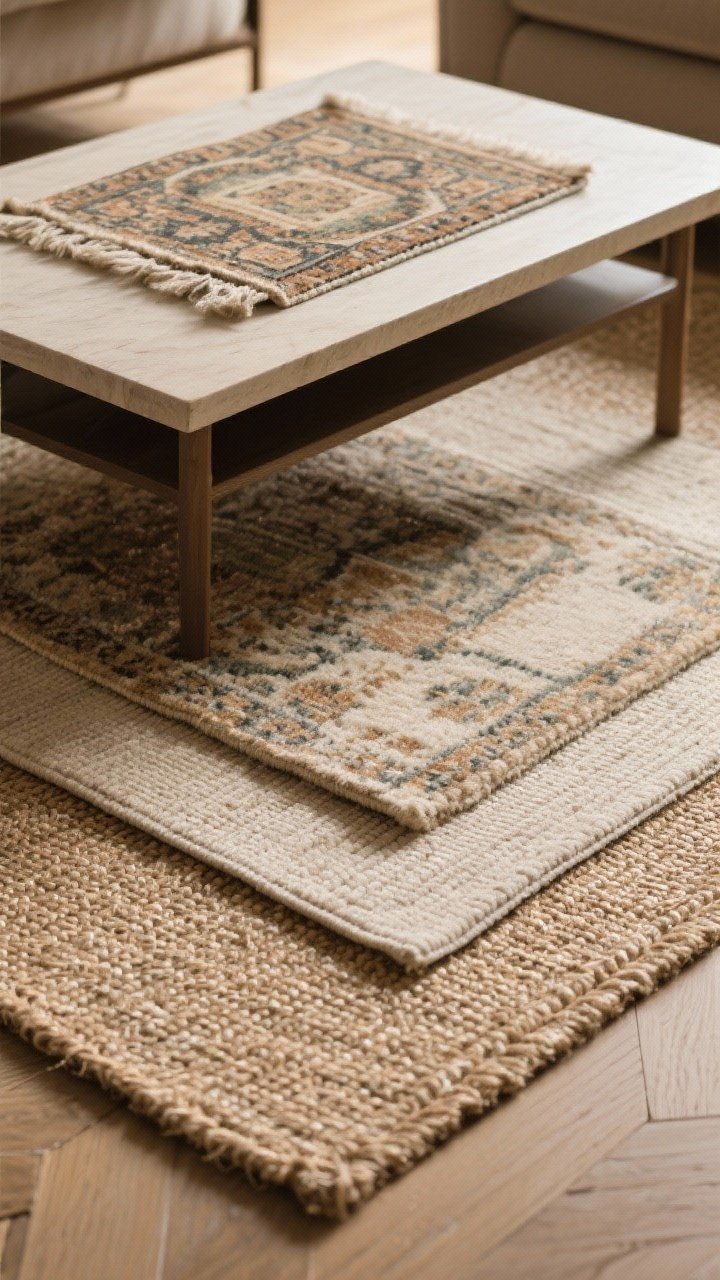
Layering rugs adds depth and comfort—especially if you love a patterned vintage piece but need more size. Keep it low-profile and deliberate.
Layering That Works
- Base rug: Neutral jute or sisal in the correct size to anchor the zone.
- Top rug: A smaller wool or vintage rug centered under the coffee table or seating area.
- Contrast: Mix flatweave bases with plush tops. Texture contrast = chef’s kiss.
- Edges: Keep top rug edges away from high-traffic paths to avoid toe stubs and drama.
FYI: Rug pads are non-negotiable—especially when layering. Safety and plushness in one simple step.
6. Choose Materials For Real Life (Spills, Pets, And High Traffic)
The prettiest rug is useless if it can’t survive your lifestyle. Pick materials by zone and usage—your future self will be smugly grateful.
Smart Material Picks
- Dining: Low-pile wool, indoor-outdoor, or performance blends. Easy to clean, chair-friendly.
- Kitchen: Washable runners or flatweaves. Darker tones hide splashes and crumbs (no judgment).
- Living: Wool for durability and warmth. Kids/pets? Try performance or patterned rugs to mask the chaos.
- Entry: Indoor-outdoor or sturdy jute. Dirt-resistant and tough as nails.
- Workspace: Low pile so chairs roll easily; felt pads under chairs to prevent snags.
Cleaning tip: Rotate rugs every 6 months to even out sun fade and wear. Spot clean spills immediately—club soda is the unsung hero.
7. Style The Edges (Because The Borders Do The Heavy Lifting)
What happens around your rug matters just as much as the rug itself. The edges are where zones either blend or bump.
Edge-Case Styling
- Furniture overlap: Place shared pieces (like side tables or plants) where rugs meet to visually bridge zones.
- Floor reveals: Leave a consistent gap—2 to 6 inches—between adjacent rugs to create a clean visual border.
- Threshold tricks: Use a runner to link zones that feel disconnected, like living to balcony or kitchen to dining.
- Color anchors: Repeat one accent color from the rug in nearby decor—pillows, art, napkins—so the zone feels complete.
One last detail: Keep corners flat and secure with rug tape or pads. Nothing ruins a vibe like a curled edge plotting your downfall.
Open floor plans don’t have to feel like one giant room where everything is yelling for attention. With a few smart rug choices—right sizes, coordinated colors, thoughtful shapes—you’ll create clear, gorgeous zones that make your space feel intentional and lived-in (not chaotic). You’ve got this. Now go roll out some magic.