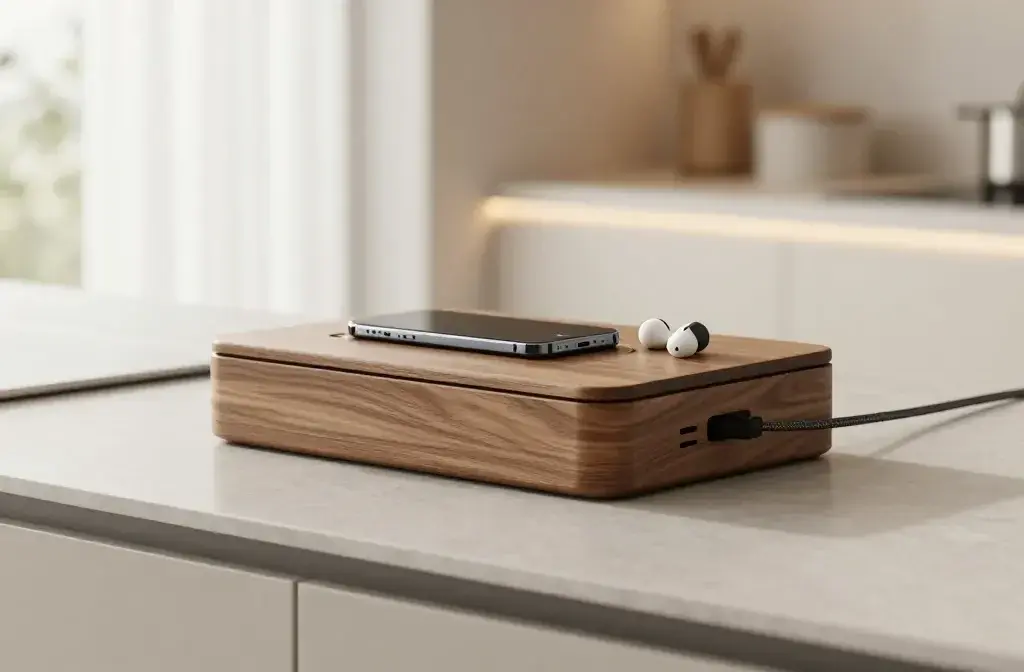
Your kitchen counter shouldn’t look like a spaghetti factory. Same goes for your nightstand, desk, and the “everything” drawer. The fix? Build a tech charging station that hides every last cable, hub, and brick. It’s easier than you think, and yes—you can make it look great without a degree in cable management.
Why You Need a Hidden Charging Station
You own more chargers than socks. Phones, earbuds, tablets, watches, e-readers—the list never ends. If you charge them all out in the open, your space instantly looks messy.
A hidden station solves that. You corral every device in one spot, route cords out of sight, and end the nightly hunt for “that one cable.” Plus, it keeps your surfaces clear, which steals back both sanity and style.
Pick Your Base: Box, Drawer, or Shelf
You’ve got three main paths here. Choose the one that fits your space and tolerance for DIY.
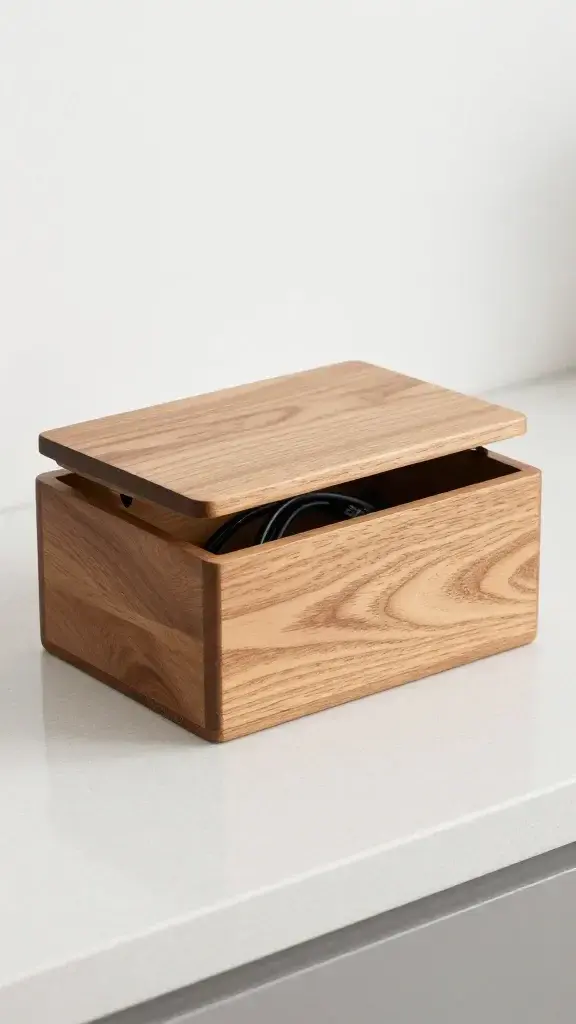
- The Box: A wooden, fabric, or metal box with a lid. Easy to move, looks tidy, zero commitment.
- The Drawer: Convert a desk or nightstand drawer into a station. Ultimate stealth mode.
- The Shelf/Cubby: Open shelving with baskets or bins. Slightly visible, still tidy, great airflow.
What Makes a Good Box?
– Sturdy sides and a lid that closes without pinching cables
– Enough depth for power bricks and a small power strip
– Ventilation (cut slots or choose a perforated design)
– A clean hole in the back for the power cord (a rubber grommet helps)
Drawer Conversion Basics
– Use a in-drawer power strip or mount a standard strip to the back
– Drill a 1–1.5 inch hole through the drawer back for the strip’s cord
– Add cable clips or a small charging hub inside for neat routing
– Pro tip: Felt or cork liners keep devices from skidding around
Choose Your Power: Strip, Hub, or Multi-Charger
The right power setup makes or breaks this project. Don’t skimp here.
- Power Strip + Individual Cables: Most flexible. Plug in whatever you want. Hide the bricks inside.
- USB/USB-C Charging Hub: Cleaner look, fewer bricks. Look for 60–100W total output for families/devices.
- Multi-Device Wireless Dock: Great for Apple/Android ecosystems. Not ideal for tablets or e-readers.
Power Specs That Actually Matter
– Wattage: Aim for 60W+ if you’ll charge a laptop or multiple tablets.
– Port Mix: Get at least two USB-C PD ports (20W–65W) plus USB-A for legacy gear.
– Smart Charging: Dynamic power distribution helps prevent slow charging when everything’s plugged in.
– Surge Protection: For strips, look for 1000–2000 joules. Your gadgets will thank you.
Plan the Layout (So It Stays Tidy)
Don’t just toss devices in a box and pray. Give everything a parking spot.
- Vertical dividers for tablets and e-readers (bookends or file sorters work).
- Silicone cable holders near the front edge so tips don’t vanish.
- Short cables (6–12 inch) to reduce tangles. Buy exact lengths.
- Label the ports with a label maker or washi tape: Phone, Watch, iPad, etc.
Ventilation and Heat Management
– Cut 2–3 ventilation slots or add a mesh panel on the back/bottom.
– Leave a small gap around the lid or use a lid with holes.
– Avoid fabric-only boxes without airflow—your chargers run warm.
– If it feels hot, reduce simultaneous charging or upgrade your hub.
Cable Routing That Actually Disappears
We hide cables at three layers: inside the box, behind the furniture, and on the wall to the outlet.
- Inside the station: Use adhesive cable clips to pin runs along edges. Bundle slack with Velcro ties, not zip ties (easier to adjust).
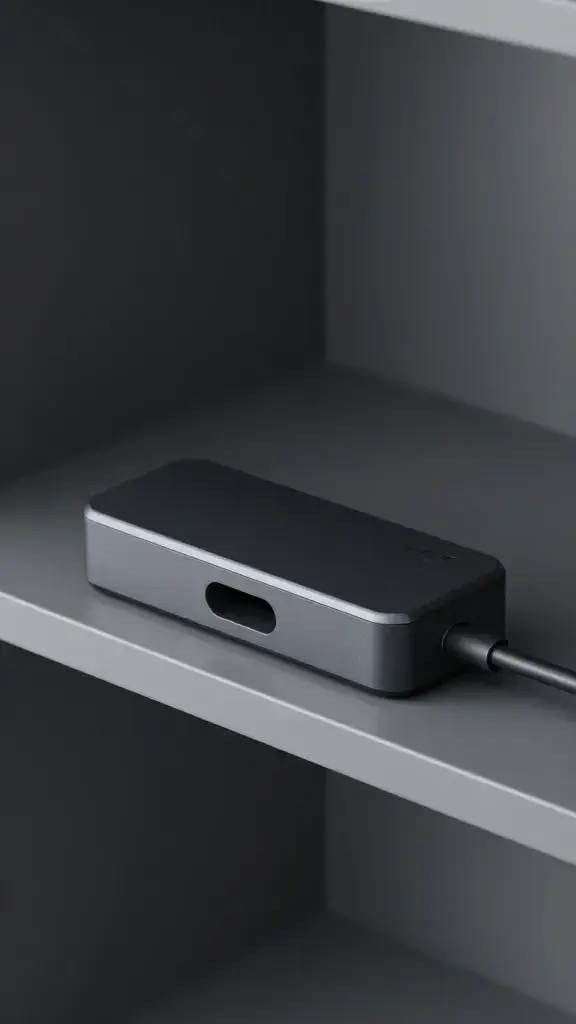
- Behind furniture: Stick the power strip under the table or to the back wall of the drawer/box to keep bricks invisible.
- To the outlet: Use a flat plug extension cord in a matching wall color. Tack it with low-profile cable raceways.
FYI: Cable raceways paint easily. If you want a stealth look, color-match the wall and pretend you’re an interior designer with a secret vendetta against cords.
Style It Like You Meant It
Cords hidden? Great. Now make it look intentional.
- Match materials: Wood box on a wood console, fabric bin on a shelf, acrylic in a modern office.
- Use a tray: Place the station on a catchall tray with a plant and a small bowl for earbuds. Instant “styled” vibe.
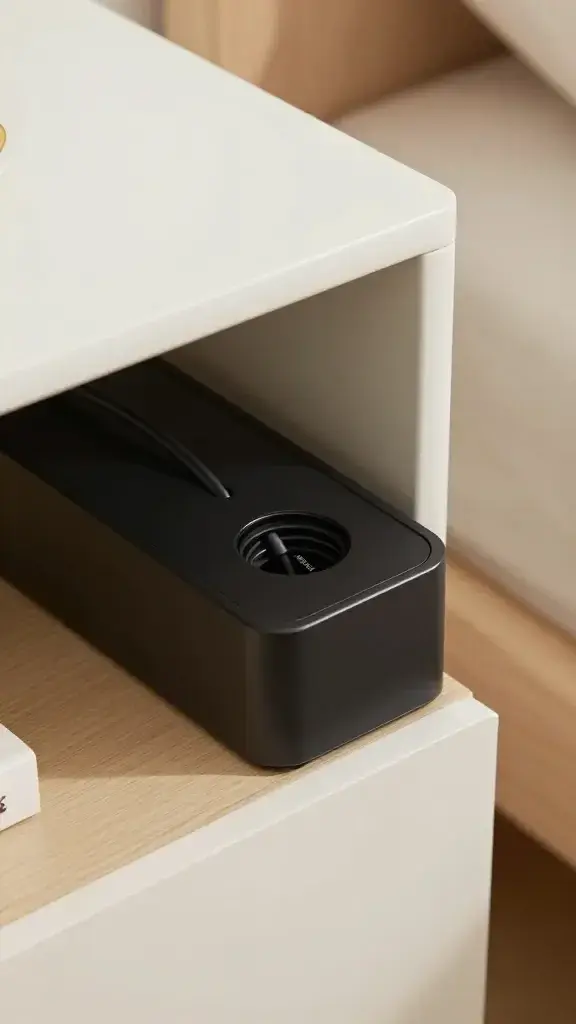
- Color-coordinated cables: Black box? Black cables. White desk? White or beige. Tiny details sell it.
- Magnetic mounts: Snap your phone/watch to a stand so it looks like a display, not a tech graveyard.
Kid- and Pet-Proofing
– Choose a box with a latch or a magnetic lid.
– Route the main cord behind furniture and anchor it with clips.
– Keep the station off the floor if you have curious chewers or grabby hands.
Quick Build: Step-by-Step
Let’s put this together fast. You can do this in under an hour, IMO.
- Pick your base (box or drawer) and place it near an outlet.
- Drill a hole for the power cord; pop in a rubber grommet to clean the edge.
- Mount the power strip or USB hub inside with adhesive strips or screws.
- Add dividers and cable clips; cut ventilation slots if needed.
- Plug in short cables, label ports, and test the fit with your devices.
- Route the main cord to the outlet with a flat plug and a raceway; paint if you’re fancy.
- Load your devices, close the lid, and enjoy the silence (of cables you can’t see).
Safety check: Don’t overload the strip, avoid stacking power bricks, and keep liquids away. Charging creates heat—airflow isn’t optional.
Maintenance So It Doesn’t Revert to Chaos
Hidden stations drift toward entropy without a plan. Fight back with tiny habits.
- Weekly reset: Coil slack, re-park cables in holders.
- Quarterly purge: Ditch dead cables and mystery bricks (we all have them).
- Device rotation: Keep everyday chargers front and center; stash occasional ones in back.
- Label updates: New phone? Update the labels. It takes 60 seconds and saves arguing.
FAQ
Can I put a laptop charger inside the station?
Yes, as long as you provide solid airflow and use a hub or strip with enough wattage. Keep the charger brick on a non-flammable surface, avoid covering it, and leave space around it. If it feels hot to the touch, crack the lid or reduce load.
What’s the best cable length for a clean look?
For a box or drawer, 6–12 inch cables usually work perfectly. For shelves, 1–2 feet gives more routing flexibility. Shorter cables reduce tangles and look neater—worth the couple of bucks, IMO.
Do I need surge protection?
If you value your gear, yes. Use a surge-protected strip rated around 1000–2000 joules. It’s cheap insurance against power spikes, especially if you live in storm-prone areas.
Is wireless charging worth it?
For phones and earbuds, absolutely—no cable fishing and it feels magic. But it’s slower than wired for big top-ups, and tablets/e-readers still need cables. A hybrid setup (one wireless pad plus a few wired ports) hits the sweet spot.
How do I keep Apple Watch and similar chargers from looking messy?
Use a stand that hides the puck and routes the cable through the base. Mount the stand near the front edge of the station so you can dock in the dark. Bonus points for a stand that matches your box’s finish.
What if I rent and can’t drill?
Use a soft-sided box with an existing seam or flap for cable pass-through. For routing to the outlet, stick-on raceways and 3M hooks do the job without holes. You can even run a flat extension under a rug edge—just don’t pinch it.
Wrap-Up: Your Space, Upgraded
Build a charging station that hides the chaos and you’ll never look at cables the same way. You pick a base, add smart power, route everything cleanly, and give each device a home. The result: one tidy spot that charges it all and shows zero clutter. Honestly, once you try it, every exposed cable elsewhere in your place will start to annoy you—in a good, motivating way. Go forth and banish the cord spaghetti.