You want less plastic in your kitchen, more charm on your shelves, and wraps that actually stick to bowls without turning into a crunchy mess? Beeswax food wraps do all that—and they look adorable. They’re easy to make, they save money, and they turn your fridge into a Pinterest board. Let’s make a batch, then organize them so neatly your future self high-fives you every time you open a drawer.
Why Beeswax Wraps Rule (and When They Don’t)
Beeswax wraps feel luxe but cost pennies. They hug bowls, wrap sandwiches, and breathe just enough to keep herbs fresher. You wash, dry, repeat—no clingy plastic film in sight.
But let’s be real: they’re not invincible. Avoid raw meat, hot pans, and super-oily foods. They soften with warmth (your hands), and firm up in the fridge. That’s the magic—and the limit.
What You’ll Need (and What You Can Sub)
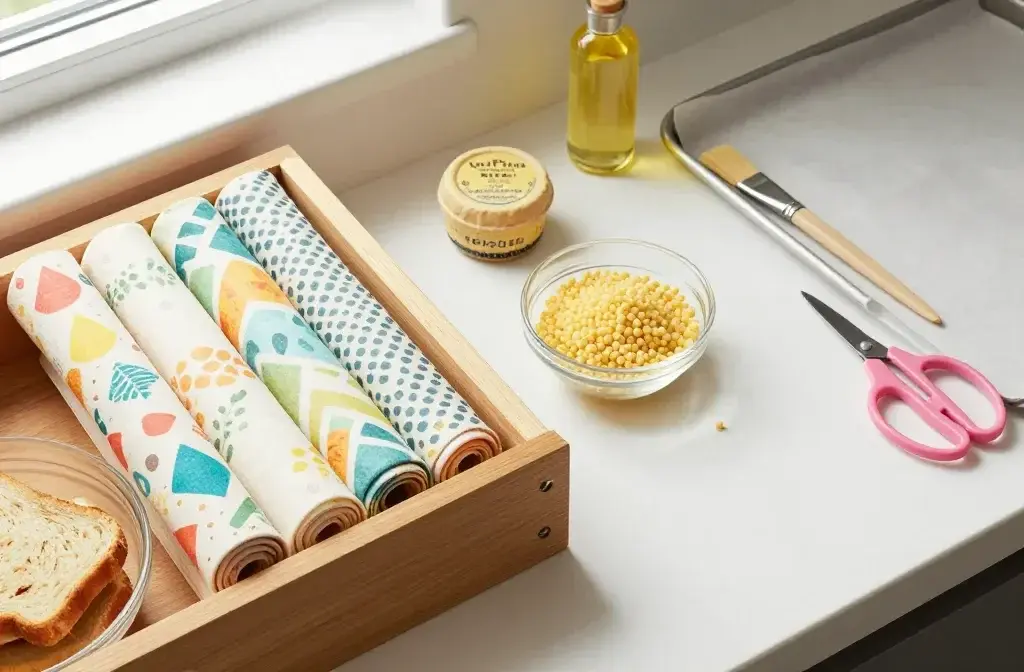
Gather your supplies before you melt anything. You’ll thank me later.
- 100% cotton fabric — tight weave works best. Quilting cotton or old shirts? Perfect.
- Beeswax pellets — easy to melt and measure.
- Pine rosin (aka gum rosin) — adds tack. Optional but IMO worth it.
- Jojoba oil — softens the finish and helps flexibility. You can sub fractionated coconut oil.
- Tools: baking sheet, parchment paper or silicone mat, small saucepan, pastry brush, and pinking shears (optional, but they reduce fraying).
- Heat source: oven (easy) or iron (fast and a little messy).
Pro tip: Pre-wash and iron your fabric so it absorbs the wax evenly. No mystery factory finishes, thank you very much.
Cut Smart: Sizes You’ll Actually Use
Don’t go wild with random sizes. Make a set that covers daily life:
- Small (7×7 in / 18×18 cm): half lemons, snack cups, avocado halves.
- Medium (10×10 in / 25×25 cm): sandwiches, cheese blocks, leftovers bowls.
- Large (13×13 in / 33×33 cm): bread loaves, casserole dishes, big salads.
Should You Use Pinking Shears?
Yes, if you have them. They reduce fraying and look cute. Regular scissors work fine, though—just trim strings after waxing.
The Melt Mix: Simple Recipe That Works
You can make wraps with just beeswax. But if you want that clingy, reusable, “ooh it actually seals” feel, make a blend.
Base ratio (per medium wrap):
- 1 tablespoon beeswax pellets
- 1 teaspoon pine rosin
- 1/2 teaspoon jojoba oil
Scale it up for multiple wraps. FYI, you’ll waste less by doing a few at a time and brushing extra onto the next sheet.
Melting Options
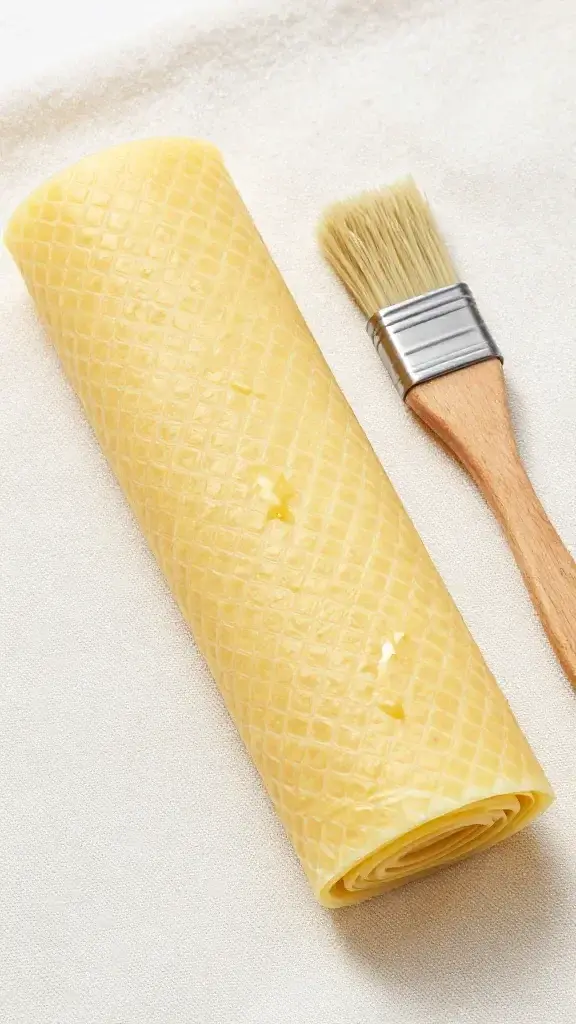
- Oven method: Preheat to 200°F/95°C. Mix your wax/rosin/oil in a small heatproof dish and melt on the baking sheet. Place fabric on parchment, brush on, and let it re-melt to level out.
- Double boiler method: Melt the mix on the stovetop, then brush onto fabric on a lined baking sheet and pop into the oven for a minute to smooth it out.
- Iron method: Sandwich fabric between two sheets of parchment, sprinkle dry pellets/rosin, drizzle oil, and iron on medium. Move the wax around with the iron until saturated.
Key checkpoints:
- Coat every inch—no dry patches or heavy globs.
- If it looks blotchy, it needs more wax or another minute of heat.
- Too sticky? You used too much rosin. Re-melt with a little extra wax to balance it.
Finishing Touches: Cure, Cool, and Test
Lift the wrap from the corner and wave it for 30–60 seconds until it sets. It should feel slightly tacky but not leave residue on your fingers. Bend it—does it crease without cracking? Good. If it cracks, you skipped oil. Re-melt and brush a little more oil in.
Cleaning Up Without Tears
Beeswax clings. Line everything. Use parchment or a silicone mat. Clean brushes and tools while warm with hot water and a little dish soap—or dedicate a cheap brush as your “wax brush” forever. IMO that’s the move.
How to Use Them Like a Pro
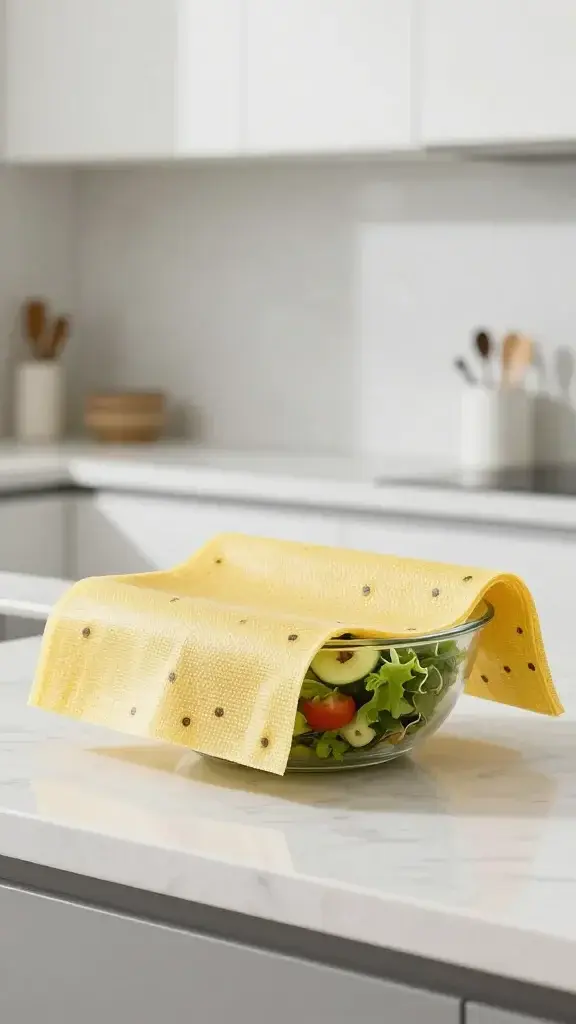
Your hands provide the heat. Press and hold for a few seconds to seal around bowls or food. The wrap will keep its shape as it cools.
- Sandwiches: Wrap and tuck corners like a little present.
- Bowls: Press along the rim; pinch seams for a tight seal.
- Cheese: Perfect fit. Just leave a tiny vent if it’s very soft.
- Herbs/greens: Wrap loosely and stash in the crisper.
Do not: Microwave, dishwasher, or wrap raw meat. Hot water melts wax. That’s not a fun surprise to scrub off your counter.
Cleaning and Refreshing
Wash in cool water with mild soap and a soft cloth. Air dry on a rack or hang it up like a tiny flag. If a wrap looks dull after months, re-melt it in the oven for a minute to revive the finish. Still sad? Brush on a bit more wax mix. When it’s truly done, compost the fabric after peeling off any remaining wax.
Organize Them Neatly (So You’ll Actually Use Them)
Let’s stop the drawer chaos. A tidy system makes these wraps feel premium.
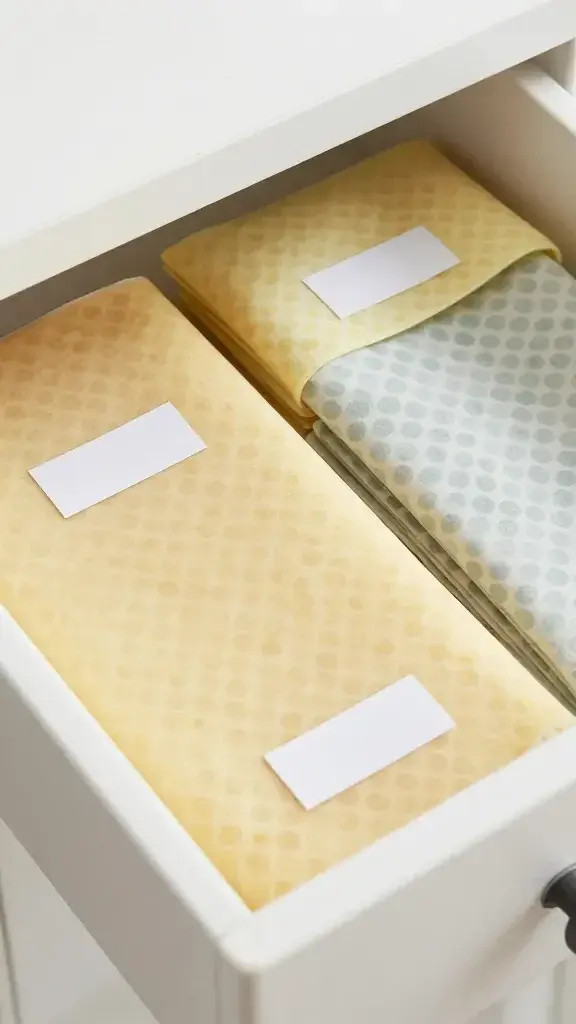
Sort by Size and Task
- File-fold in a drawer: Fold each wrap in thirds, then in half, and stand them like files. Use dividers labeled small/medium/large.
- Vertical magazine holder: Slip a clear file folder or magazine holder in a cabinet. Store wraps upright by size. Zero rummaging.
- Hang them: Clip them on a simple pants hanger inside a pantry door. They air out and stay flat.
Bundle Sets You Grab Constantly
Make a “daily set” with one small, one medium, one large. Roll them together and secure with a silicone band. Toss a set in your lunch tote so you stop “forgetting” to use them.
Labeling That Doesn’t Look Dorky
Use washi tape on the shelf edge or a slim drawer label: S, M, L, XL. Or color-code by fabric pattern—lemons for small, florals for medium, stripes for large. Your brain will learn the code fast.
Store Away From Heat
Keep wraps cool and dry. Don’t stick them above the oven or next to the dishwasher vent unless you love re-melting accidents.
Troubleshooting: Real Fixes for Real Oopsies
- Too stiff: Add a touch more oil and re-melt.
- Too floppy or oily: You overdid the oil. Re-melt with extra wax and a pinch of rosin.
- Edges fray: Trim with pinking shears and re-melt to seal fibers slightly.
- Doesn’t stick: Add a bit more rosin, but go light—sticky can turn gummy fast.
- Weird white bloom: That’s wax bloom. Warm it briefly; it disappears.
FAQ
How long do beeswax wraps last?
With regular use and gentle washing, wraps last 6–12 months. Refresh them as needed with a quick oven melt to extend the life. When they stop sealing even after a refresh, retire them to the compost.
Can I skip rosin and oil?
Yes, but the wrap will feel stiffer and cling less. Beeswax-only works, especially for covering bowls, but rosin improves grip and oil adds flexibility. If you want beginner-proof wraps, use the full trio.
Are they safe for all foods?
They’re great for bread, cheese, fruit, veggies, and sandwiches. Avoid raw meat and hot or very steamy foods. Let leftovers cool before wrapping to keep the wax happy.
How do I get rid of the wax smell?
The light honey scent fades after a few uses. If it bugs you, air the wraps out for a day or add a drop of food-safe vanilla to the wash water, then rinse well. Don’t use essential oils that aren’t food-safe—common sense, folks.
Can I use vegan wax instead of beeswax?
You can. Candelilla or carnauba wax can work, but they’re harder and often need more oil to prevent cracking. Start with a tiny test patch to dial in the ratio.
What if my wraps stick to themselves?
They probably have too much rosin or got warm in storage. Pop them in the fridge for a minute to firm up, then re-melt lightly and brush on a little extra wax to balance the mix.
Wrap-Up (Pun Fully Intended)
You just learned how to make custom beeswax wraps that actually seal and how to store them like a pro. Make a stack, label your sizes, and keep a grab-and-go set handy. Less plastic, more style—FYI, your fridge is about to look smug in the best way. Now go melt some wax and organize that drawer.